
Come and explore the diverse world of Hubzilla!
Whether you just want to participate in the Fediverse in the style of a social network, or whether you want to set up a real home for your data now or later, Hubzilla is the right place for you!
Hubzilla distinguishes between the account, i.e. the user access to a specific Hubzilla server (these are called hubs), and the channels, i.e. your identity in the Fediverse, which is represented by the familiar ‘handle’, i.e. your ‘Fediverse address’ according to the scheme channel@hub.domain (on other services, this may also include a leading ‘@’, i.e. @kanal@hub.domain). You can create as many channels as you like on the hub with your account. However, the channel as your identity is independent of the hub and can be cloned or moved to other hubs.
So, first you need to decide on a hub. It's best to choose one from this list:
Then click on the hub and you will be taken to the registration page.

If you have selected a hub that only allows account creation with the administrator's approval, the input mask will look slightly different:
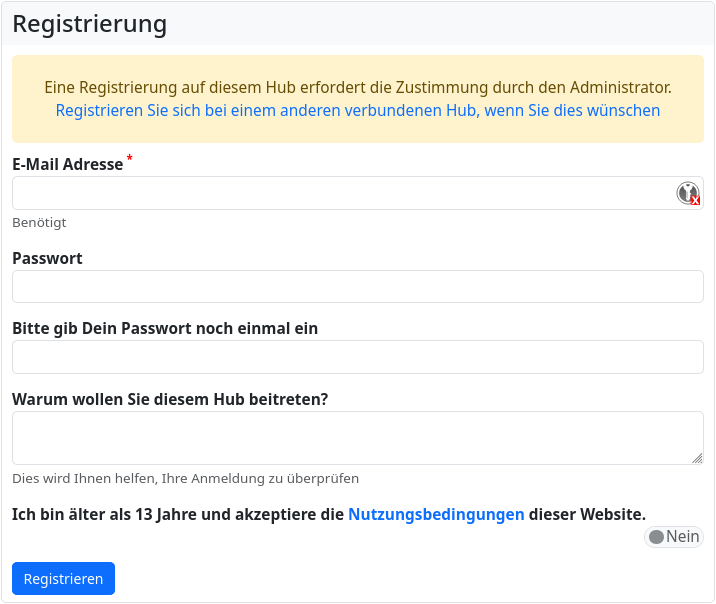
There is 1. a note that the registration of consent requires approval by the administrator and 2. an additional input field for a short text explaining why you would like to join the hub.
It is advisable to enter something meaningful in this field, as the administrator does not know who they are dealing with. Entering gibberish just for the sake of filling in the field will almost always result in the registration request being rejected.
What you need to be aware of: Hubzilla distinguishes between an account (user access) and an identity (channel with its own handle).
After successful registration, such a channel must be created.
However, you may also see a registration page (depending on how the hub is configured):
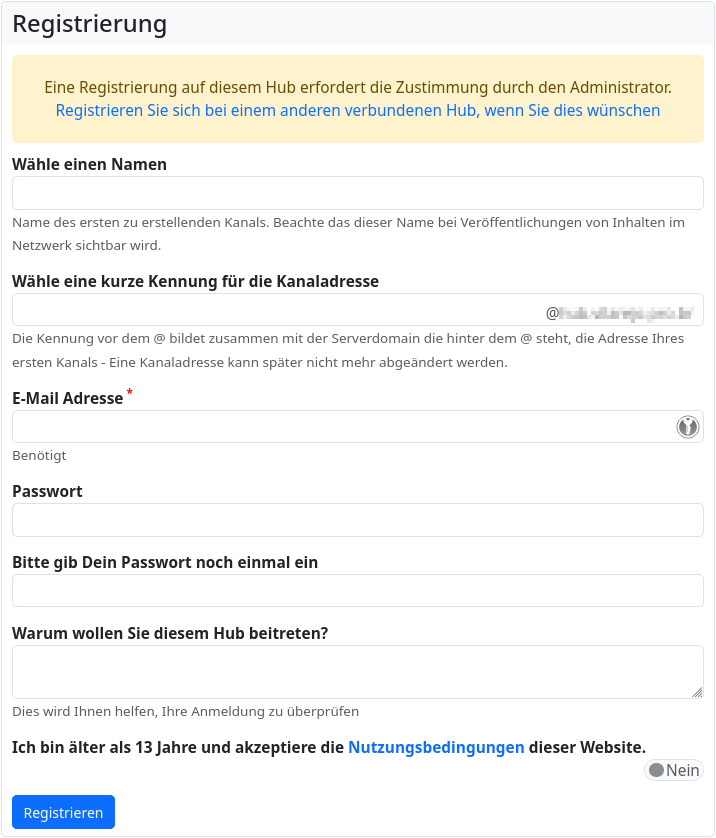
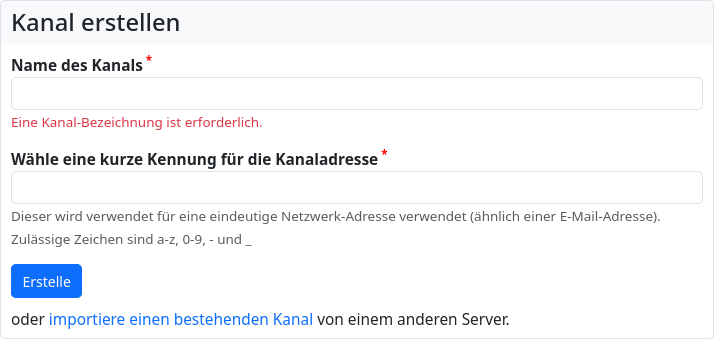
With these hubs, creating a channel is done at the same time as registration. Here, you must enter the name for your own identity in the ‘Choose a name’ field (you can change this name later) and a short name in the ‘Choose a short identifier for the channel address’ field. This short name cannot be changed later. This and the domain name of the hub make up your handle (the Fediverse address) (shortname@hub.domain), as is familiar from all other Fediverse services.
Once you have filled in all the fields, you can click on the ‘Register’ button.
Achtung! |
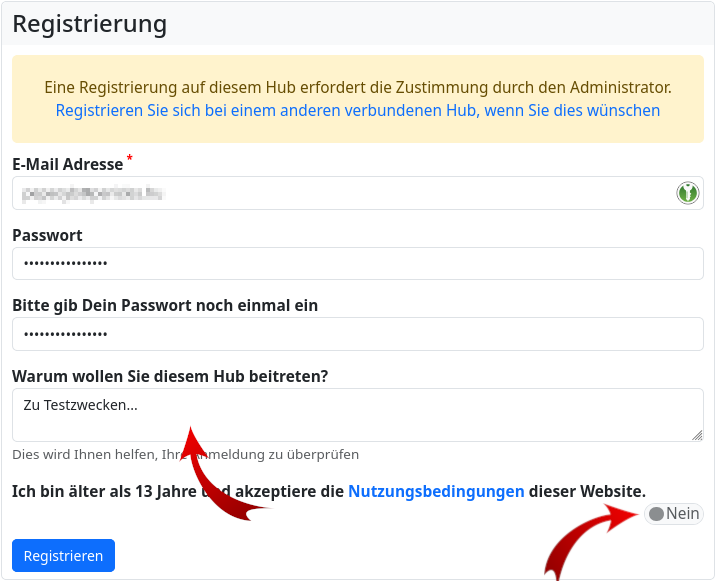
Apart from a possible ‘justification’, you must also confirm your age and acceptance of the terms of use.
There are always problems here because the switch is not a checkbox that you can click to tick or cross, but rather the rather unpopular ‘slide switch’. If it is greyed out and says ‘No’, you have not confirmed the terms and conditions. You have to click on it, whereupon the text will appear in bold and ‘Yes’ will appear in the switch. Only then have you accepted the terms and conditions.
If you forget to ‘flip’ the switch, you will unfortunately not receive any indication of where the error occurred. |

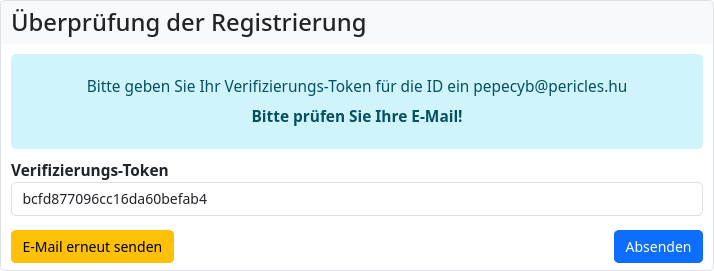
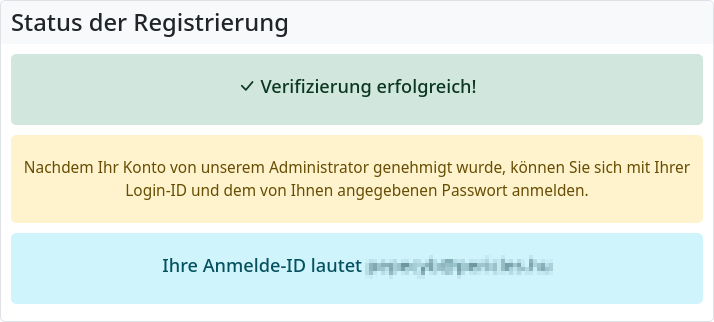
If everything went well, you will be redirected to a page where you will need to enter a confirmation code (‘verification token’). You will receive this code by email (check your spam folder or request it again if necessary).

If you have registered with a hub that requires administrator approval, the following message will appear: ‘Once your account has been approved by our administrator, you can log in with your login ID and the password you specified.’
Attention! |
Many hubs, especially smaller ones, are run by one or very few people. And these operators are not at their computers 24/7. Therefore, it may take some time for your account to be approved. Please be patient and wait up to one day. If you try to log in with your registration details before your account has been activated, you will be redirected to the login screen without further notice. |
After logging in, you will see the input mask for creating a channel (unless one has already been created when the account was set up).
Once the channel has been created, you will be redirected to a page specified by the admin (usually the page for entering profile information).